


|
|
|
|
The Audi

 |
 |
 |
Here's a little tutorial on how to install two carbon fiber kits for the Audi R8 offered by OEMpl.us.
These carbon fiber kits are OEM Audi products, not aftermarket and they fit like they're designed for the R8 - Because they ARE!
The two kits that I'm installing are the Z57 Interior Trim Kit and the NM5 Engine Bay Trim Kit. You can find both of these kits on OEMpl.us' Audi R8 section.
I highly recommend talking to Rich Barker when you contact OEMpl.us. He's extremely knowledgeable about the products they sell and very easy to talk to. Thanks Rich!
Let's start out with the Engine Bay Kit
|
|
|
|
|
The Engine Bay kit comes with five pieces: |
|
|
|
|
|
|
Tools required: Screw Driver. I also went to my local Audi Parts Manager and asked for prints of the sections of the car that I plan on tackling. |
 |
Installation of the Engine Bay Kit took right at one hour. It's quite easy to do. If you can operate a screw driver, you can do this modification. If you can't operate a screw driver, walk away!
First thing is removal of the stock plastic parts. Start out by removing the engine cover (the part just in front of the airbox). It pulls off with a quick tug.
Next is the air box. Unscrew the screws that hold it down, remove it from the car and then remove the screws that are captured in the airbox mounting tabs. Pull up slightly on the screws as you turn them; the threads will grasp the plastic tabs and they'll thread right out. Carefully insert the screws into the c/f airbox cover and screw them on down through the tabs. Set the airbox cover aside
 The next pieces to remove are the side panels. You'll need to remove the lower leg of the gas struts that hold up the rear engine cover to get the panels out of the car.
Slide a small flat blade screw driver under the top of the clip and pull out slightly. The clip will open up and then you can slide it down towards the end of the mount. Don't push the clip all the way off, just down out of the way. This clip holds the end of the strut securely against the ball that the strut mounts to. I discovered that my struts are new enough that one of them will hold the engine cover up, but I recommend having someone help hold the lid. I didn't pull the strut from it's mount until right before removing the panel.
There are six quarter turn fasteners holding each side panel in. The rear fastener is the only one that's not captured. Start on this one first, remove the fastener and set it aside. Next unscrew the remaining fasteners. On the left side panel, you'll need to remove the power steering fluid reservoir cap for clearance. Pull the back of the panel towards the centerline of the car and then upwards and work towards the front of the engine bay. The panel's going to come out from it's mounts, but it won't come out of the car quite yet. About half way between the strut and the hinge of the engine cover, the engine bay light will be found. It's going to fight, as it's wired in place. The easiest way to get this out is to squeeze one of the clips that holds the light in the panel and push the light through the panel. This will let you get to the connector that's on the back side of the light. There's a small tab that needs to be pushed in to allow removal of the connector. Once you get this free, the panel will come right out.
The five remaining quarter turn fasteners are captured devices and come out with the panel. They have a large plastic washer on the back side of the panel. Just push the quarter turn fastener through the washer. They will put up a bit of a fight, but they do come right off. Set the plastic panels off to the side and go get your new, pretty carbon fiber panels and install the quarter turn fasteners in the holes - NOT THE BACK HOLE - and then push the washers back over the fasteners.
Move on up to the fire wall cover. There are six #25 Torx head screws holding this in place. Remove the screws, remove the cover.
Now it's time to put the pretty stuff in.
There was one aspect of the kit that needed modifying. The holes in the fire wall panel are not large enough for the four shouldered Torx head screws. I had to open the holes up so the shoulders passed through the panel.
I cannot stress how important it is to do this modification and how important it is to do this modification VERY, VERY CAREFULLY.
If you don't allow the shoulders to pass through the panel, the shoulders will compress and then crack the area around the holes. Not good. Fortunately you only have to modify four of the six holes. The four along the top edge of the panel.
 To do this modification I used two different tools. The first tool was a Dremel tool with a fine toothed carbide barrel cutter. The two outer holes are slightly slotted, so you need to go in and very carefully remove material on the upper and lower edges of the holes and convert them from slots to round. Do not get wild and try to hog out the holes - you'll crack the clear coating on the c/f.
Once you get the two outer holes rounded, take a tapered reamer and work all four holes, slowly and carefully so not to crack the clear coat until the shouldered part of the Torx head screws pass through. Do all your work from the back side of the panel, not from the glossy side.
Installation of the panel is pretty straight forward. Start out by putting the driver's side (left side for our English friends) in front of the engine cover support strut, then work the passenger (right side, for our English friends) end of the panel into position in front of the wire harness that comes down off the hinge structure on the right side of the engine cover.
Now you should be able slide the cover into place.
Put the two non-shouldered Torx head screws in the two bottom holes. Just thread these in about half their length, not all the way. Now put the four shouldered screws in the four upper holes and screw them in about half way.
Carefully pull the panel away from the fire wall and check for clearance and fit of the four upper screws - the panel should slide over the shoulders. If they do, then screw the screws on in by hand - do not tighten them yet. You may need to wiggle the panel a tad as you screw the screws in. If you have any screws that fight, figure out where the binding is and open the hole up a tad. Once all the screws fit through all the holes w/o any fighting, tighten the screws down. You don't need to ham-fist these screws, just snug them up. A quarter turn of the screw driver, once the screws are hand seated should be more than sufficient.
Your first carbon fiber panel is installed. Congratulations!
Next pieces to install are the side panels. They go in just the opposite of the way you took them out. It's easier to pull the connector and wire through the holes for the lights as you install the panels than it is to try to fish the wires through the holes. The panels will take a little bit of jiggling to get them to seat up where they belong. Once you get them in place, go through and check each quarter turn fastener and make sure that they're in the holes they're supposed to be in. It's really easy for them to get pushed out of the way a little bit as you get the panels in place. Do this by hand, not with a driver.
 Once the fasteners are located in the holes they belong in, start up front and get the fastener closest to the engine cover hinges. These two are the toughest, as you can't get a straight shot. Be really careful not to slip and scratch. Make sure you have a wide enough flat blade driver. Anything under a 1/4" wide is not good. Next move down to the fastener closest to the fire wall panel and get it in. Now just work your way back. The last fastener that you'll install will be the loose one (do you remember where you put it when you set it aside? - if not, put the beer down!)
Now put your engine bay lights back in. Put the connector on the light, line up the light with the hole and then push it in the hole. The light should snap right in place.
Three panels down, two to go.
Put the air box cover on next. Pay attention to the recesses in the lid that the flanges on the air filters slide into. These recesses are a couple of grooves and you must make sure that the flanges in front of the filters slide into these recesses. If not, your airbox lid won't go on correctly and it won't seal. The airbox lid fits snugly - almost with a snap. Take a look at all the tabs with the screws and make sure that they line up with the lower tabs on the airbox. Carefully screw the cover in place. If you'll start the screws by hand, you can feel if the threads on the screws find the original slots that were cut by the screws in the lower tabs. If the screw seems to fight more than it's neighbor, back it out and try again.
Start on the two screws up between the tubes that run to the throttle bodies and work your way around the airbox.
Last step is to snap the engine cover plate in place. This requires a little Braille method, but it will go on after about the 37th try or so.
The installation of your Carbon Fiber Engine Bay Trim Kit is complete. TADA!
The Interior Kit Installation
The interior kit is a little more complicated than the Engine Bay kit. I've ordered a couple of the PPI pieces that OEMpl.us offers, so I won't get into the center console and dash yet. Once I get all the stuff, I'll tackle that aspect of the Interior Kit and add to this web page. For now, let's move on to the doors.
Let's start with the right side door trim. This stuff's a breeze.

 Start out by opening the door (duh!). The first piece to do is the door pull. The cover pulls off the handle. Yea, it really is that simple. Grab it up near the top and give it a tug. It's going to fight, as Audi's done a beautiful job of making sure everything fits nice and tight, but fear not young Space Cadet, they snap in and out w/o any issue.
To install the handle cover, put the lower edge down into the recess just in front of the window switch and make sure that the lower snap on the back side of the cover lines up with the lower snap hole in the door pull. Work the cover in and make sure that the pin on the upper side of the back side of the cover lines up with the hole in the handle. Push the cover in place. It should pop in and snug up.
Next piece to install is the arm rest trim.
There's one #25 Torx head screw that holds this in place. It's hidden under the speaker grill. Once again, this is a snapped in piece. Work the speaker grill off - pull out away from the door, not up, not down - out. As with the door pull cover, this piece will fight you. Once it comes out, you'll notice two tabs on the arm rest trim. The lower tab has the screw in it. Remove the screw.
Take a look at the c/f piece that you're getting ready to install. Notice the hooked mounting pieces? These slide into holes in the door panel and should give you an idea how the piece mounts.
The tab that had the screw in it has a small tit on the back side that pops into a hole. This little tit won't let you slide the trim piece towards the front of the door. Very carefully pull the tab away from the door (only need to pull it 1/16" - 1.5mm) and then slide the trim piece towards the front of the door. It should pop right out.
Installation of the c/f piece is just the opposite. Line the hooked mounts up with the holes they fit in then slide the trim piece towards the back of the door. You'll hear/feel the piece snap in place and the hole in the lower tab should line up with the hole in the door panel. Put the Torx head screw back in, snug it up (once again, do not ham-fist this screw or you'll damage the tab) and then snap the speaker cover in place.
There you go! This should take about 10 minutes from start to finish.
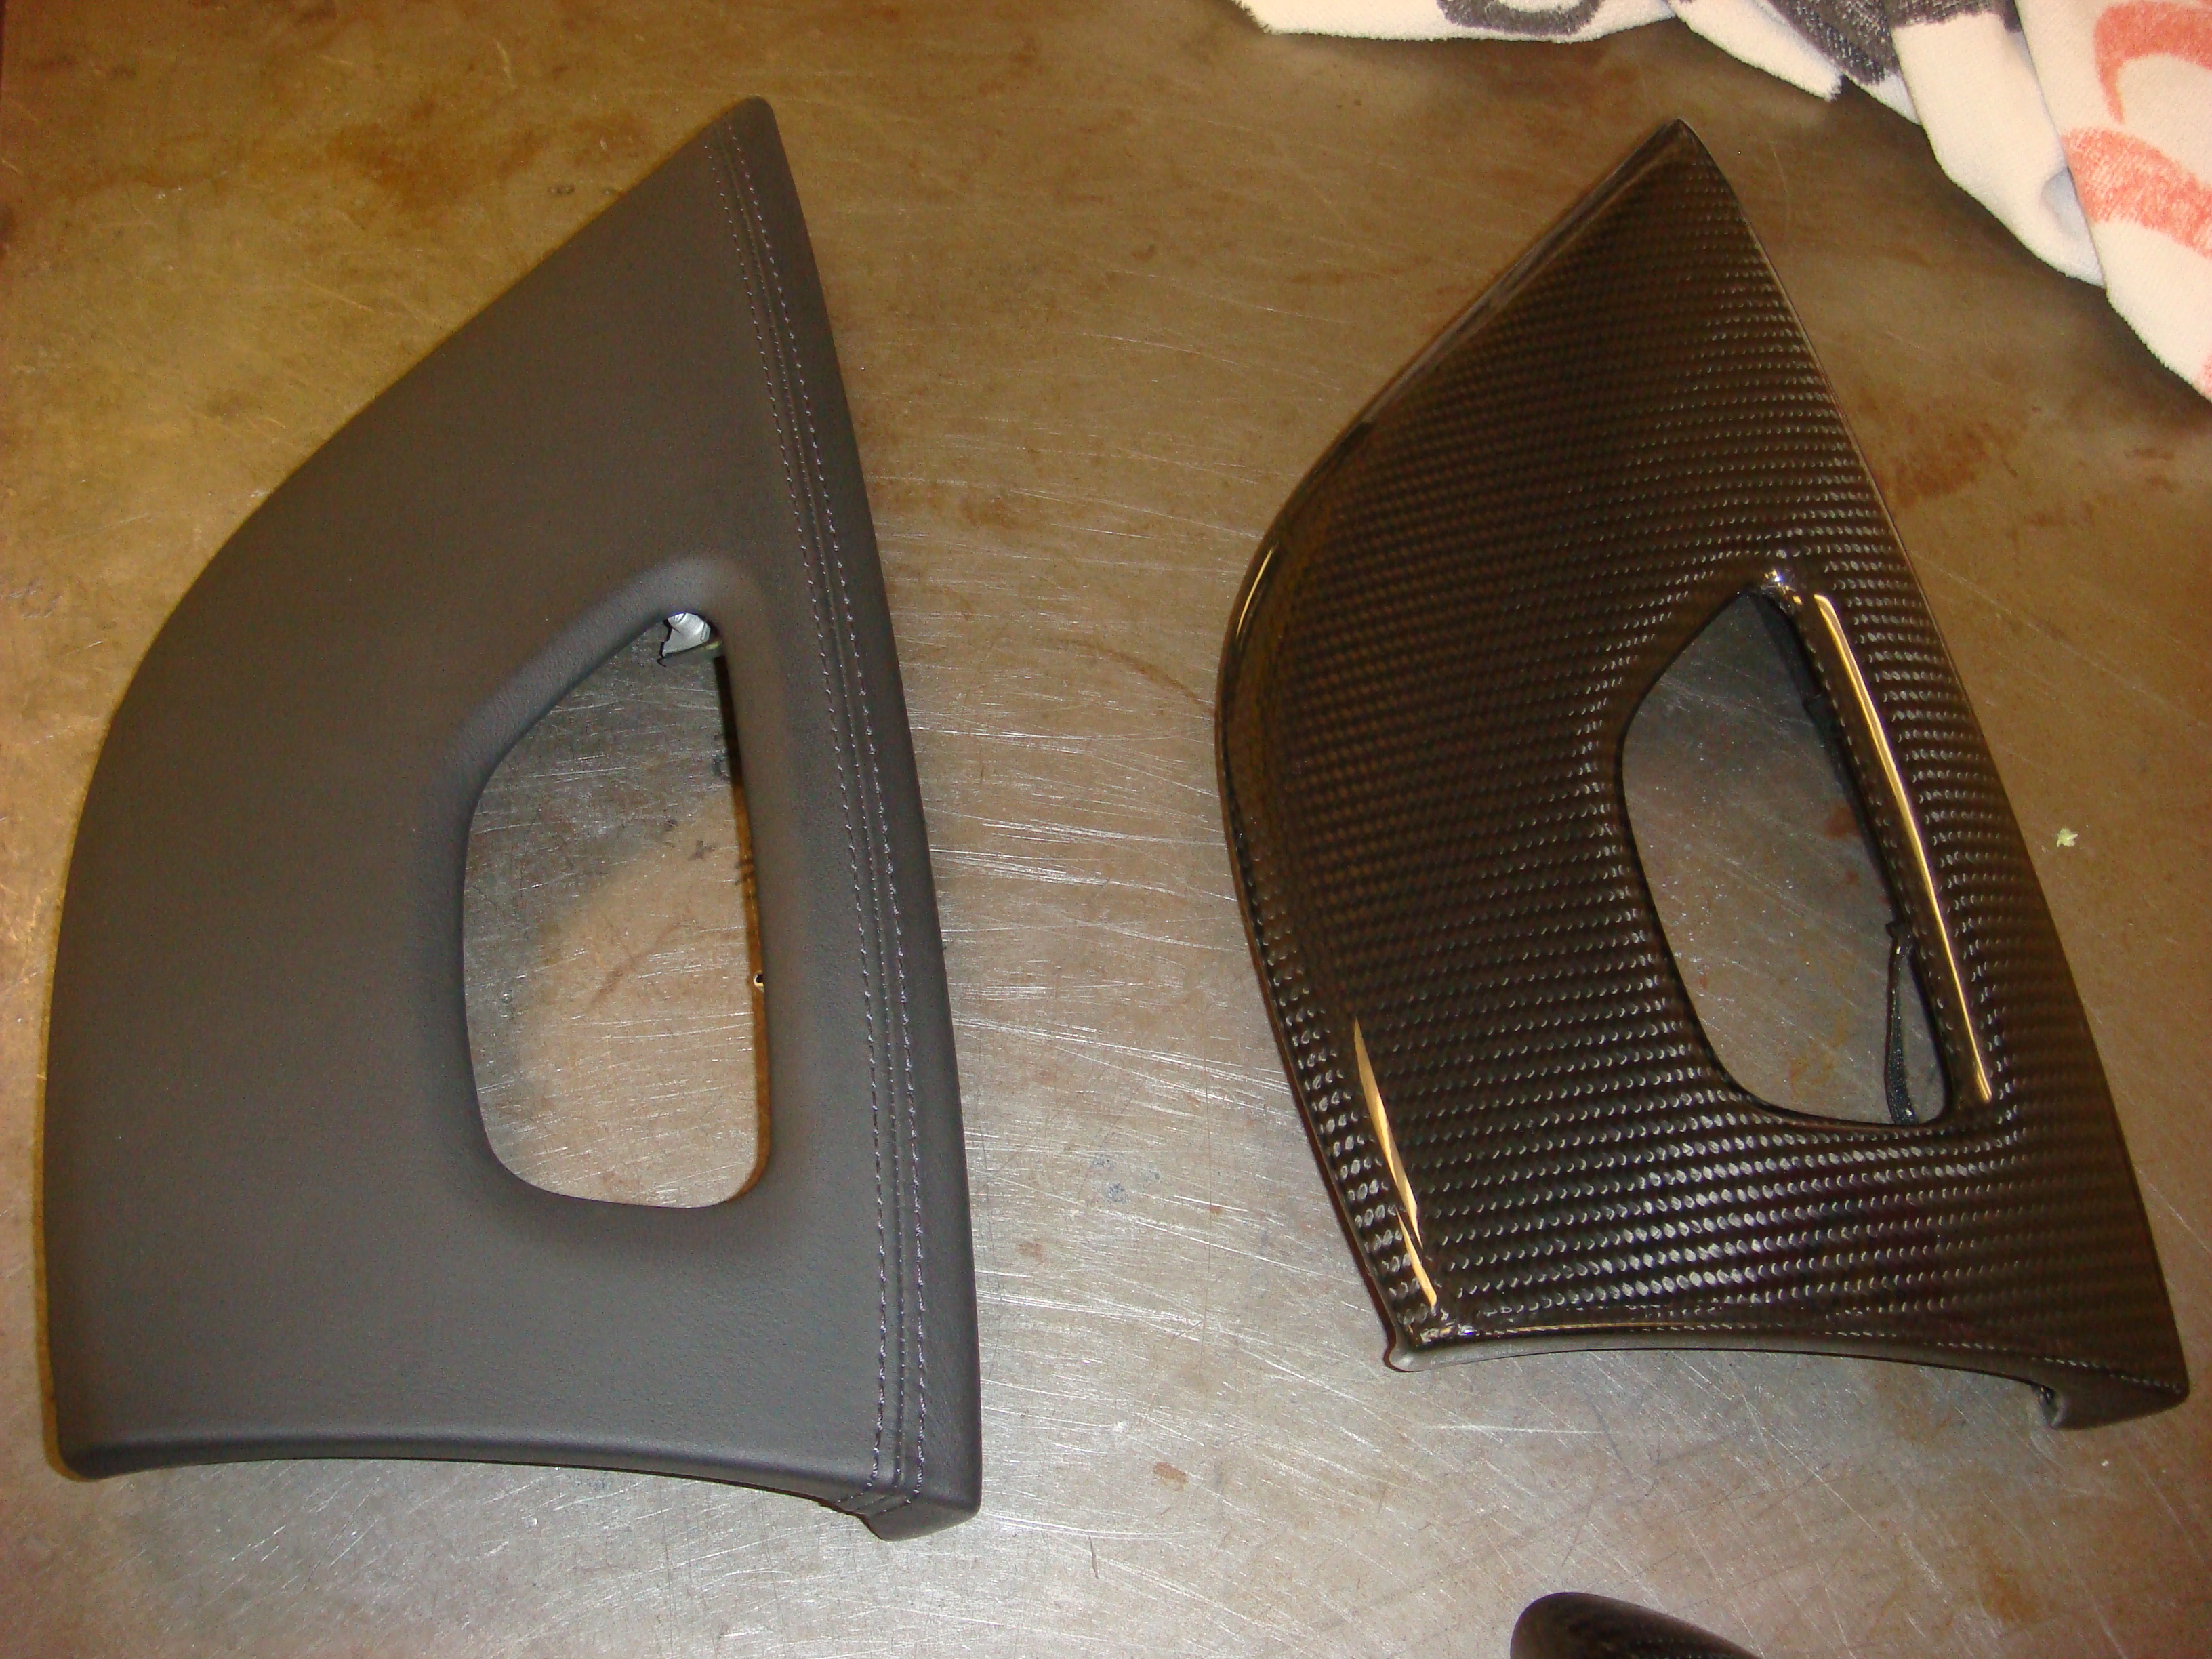
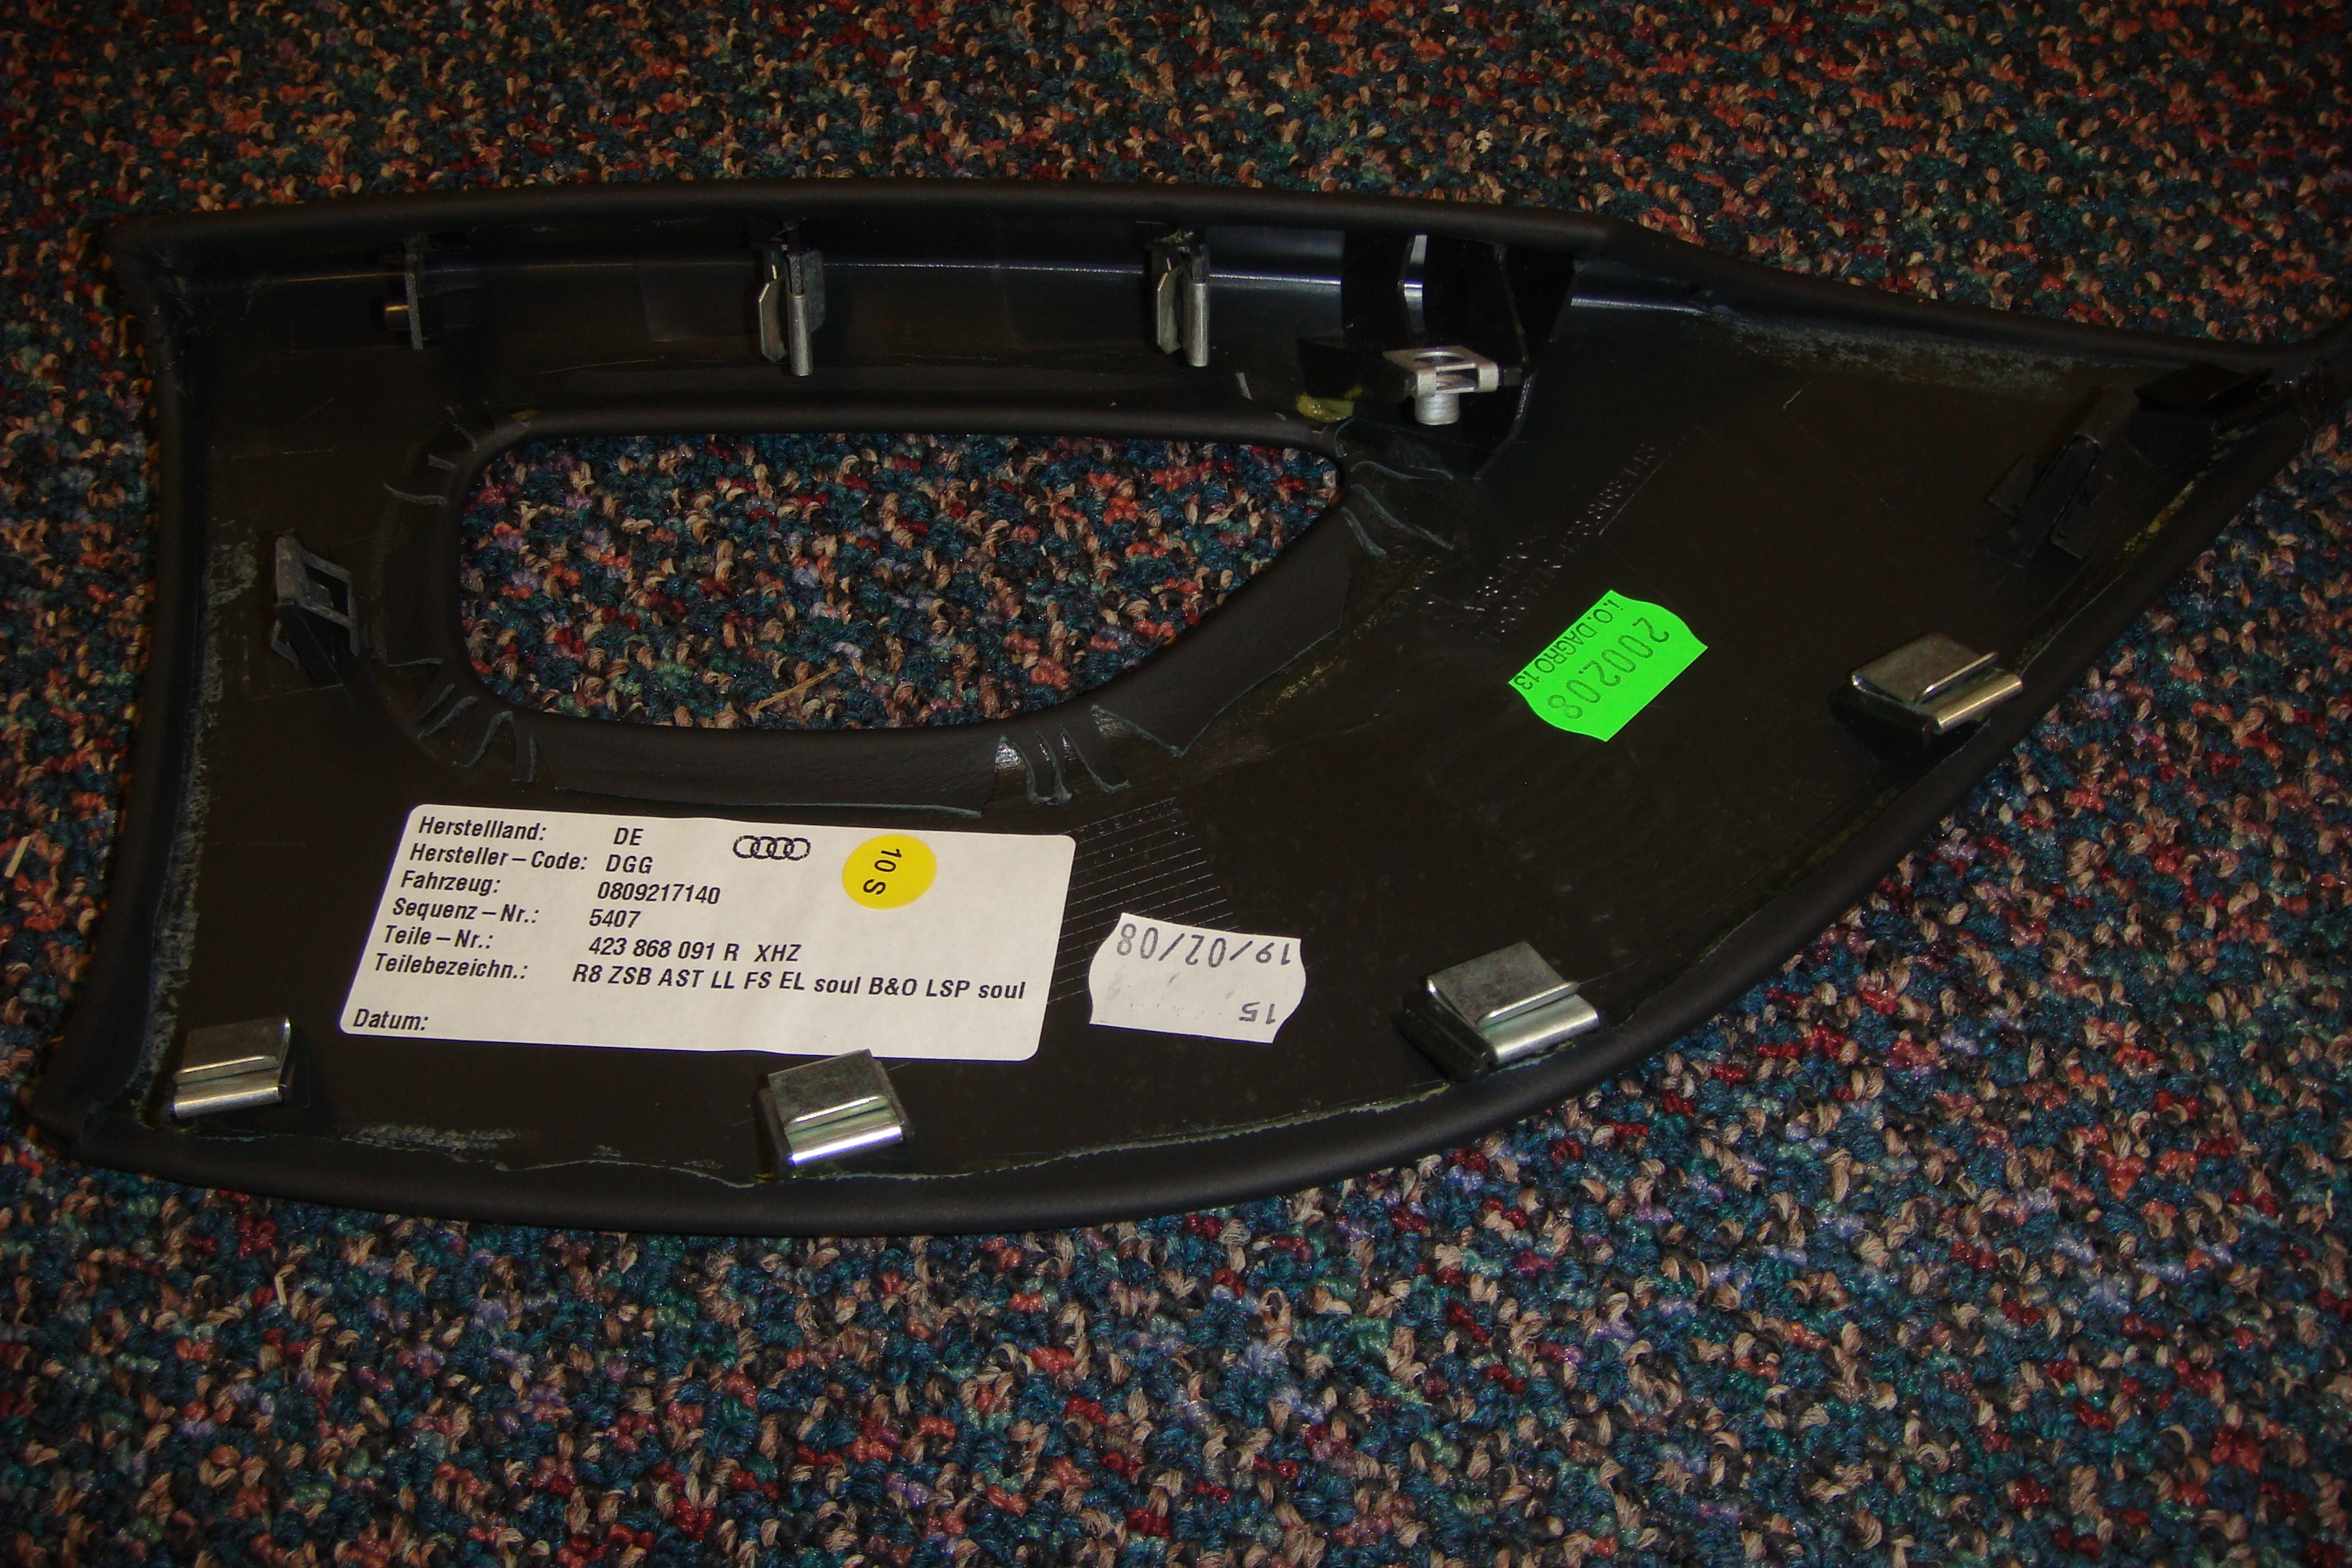
The left side door trim is a bit more complicated.
 |
 |
 |
 |
 |
 |
Not to understate the obvious, but once again (because I'm a smart ass), open the door to start this project. (duh!)
Pull the door pull and the speaker cover like you did on the right door.
Take notice - there are two Torx head screws that hold the door pull in place. Remove these two screws and pull the door pull assembly forward a little bit. This gives you the clearance you need to slide the arm rest trim forward. Once you get the trim off, just like you did on the right door panel, install the c/f trim piece.
Put the door pull back on the door and snug down the Torx head screws.
Now take the door pull c/f piece and snap it together with the speaker cover.
Starting at the top of the two pieces, align the top of the pull cover with the tabs that stick up on the pull and then work the two pieces in place, snapping the pieces in place.
There you have it - a carbon fiber trimmed door. Easy enough!
So, if you're interested in adding a bit more style to you R8, follow these easy steps and you too can have that trick Carbon Fiber look. It's easy to do and doesn't take much time at all. Plus, now if you happen to run across someone else with an R8, you can now puff out your chest and proudly announce "Mine's prettier!" (get a life, right?)
I'll get to the dash and center section here in a couple weeks.
Return Home
7/21/08


